Putting up shelves
There are essentially two types of shelving; a purpose made system shelving kit and a purpose made set of shelves, to suit individual tastes!
Let’s explain the purpose made system shelving kit first.
A very popular choice is the “spur” type system, which is a pre-finished adjustable height shelf system, made from mild steel. It’s a simple system, consisting of vertical wall- mounted slotted sections, with angle support brackets, which simply hook and lock into the slotted wall mounted uprights, to create a strong and efficient shelving framework.

When fixing the “spur” type of shelving, fix the vertical supports level and parallel. Mark all the fixing points on the wall, using a masonry drill, for the fixing holes, insert wall plugs, and screw all the fixings, half way home, check again for level and parallel before tightening home all the screws. Use a spirit level to align the other supports and repeat the fixing process.

Next, is to hook in the shelf supports, at the desired heights, cut the shelves to length attaching them to the support brackets, with screws to the underside of the shelves. This will tighten up and solidify the whole system, remember the longer the shelf, the more supports and uprights required, and thicker the shelf material required.

The other “standard shelf” is made up of soft wood battens cut to length, and screwed (with plugs), to the wall and returns (alcove). A batten is cut to length for fixing, to the two shelf ends. A minimum of one cross batten will need to be glued and screwed, in a central position, to stiffen and strengthen the support frame work, the heavier the load, the more cross battens required. The front of the shelf can be concealed with a decorative moulding, or an off cut of the shelf material. Alternatively simply purchase, some premade, right angle shelf brackets, using a spirit level, mark the fixing positions, equally spaced apart, masonry drill and plug, then screw the brackets in place. Simply cut the shelves to length, and fix them to the brackets on the underside.
Tommy’s Tips
- If you need to strengthen the shelf, glue and screw a baton, the full length of the shelf, under the front edge, this will stiffen the shelf and help avoid sagging.
- The complete shelf fame work, and shelves, should be drawn onto the wall, in real size, using a sprit level before you start, to avoid making costly mistakes. Also check the fixing positions, with a pipe/cable finder BEFORE assembling the shelves.
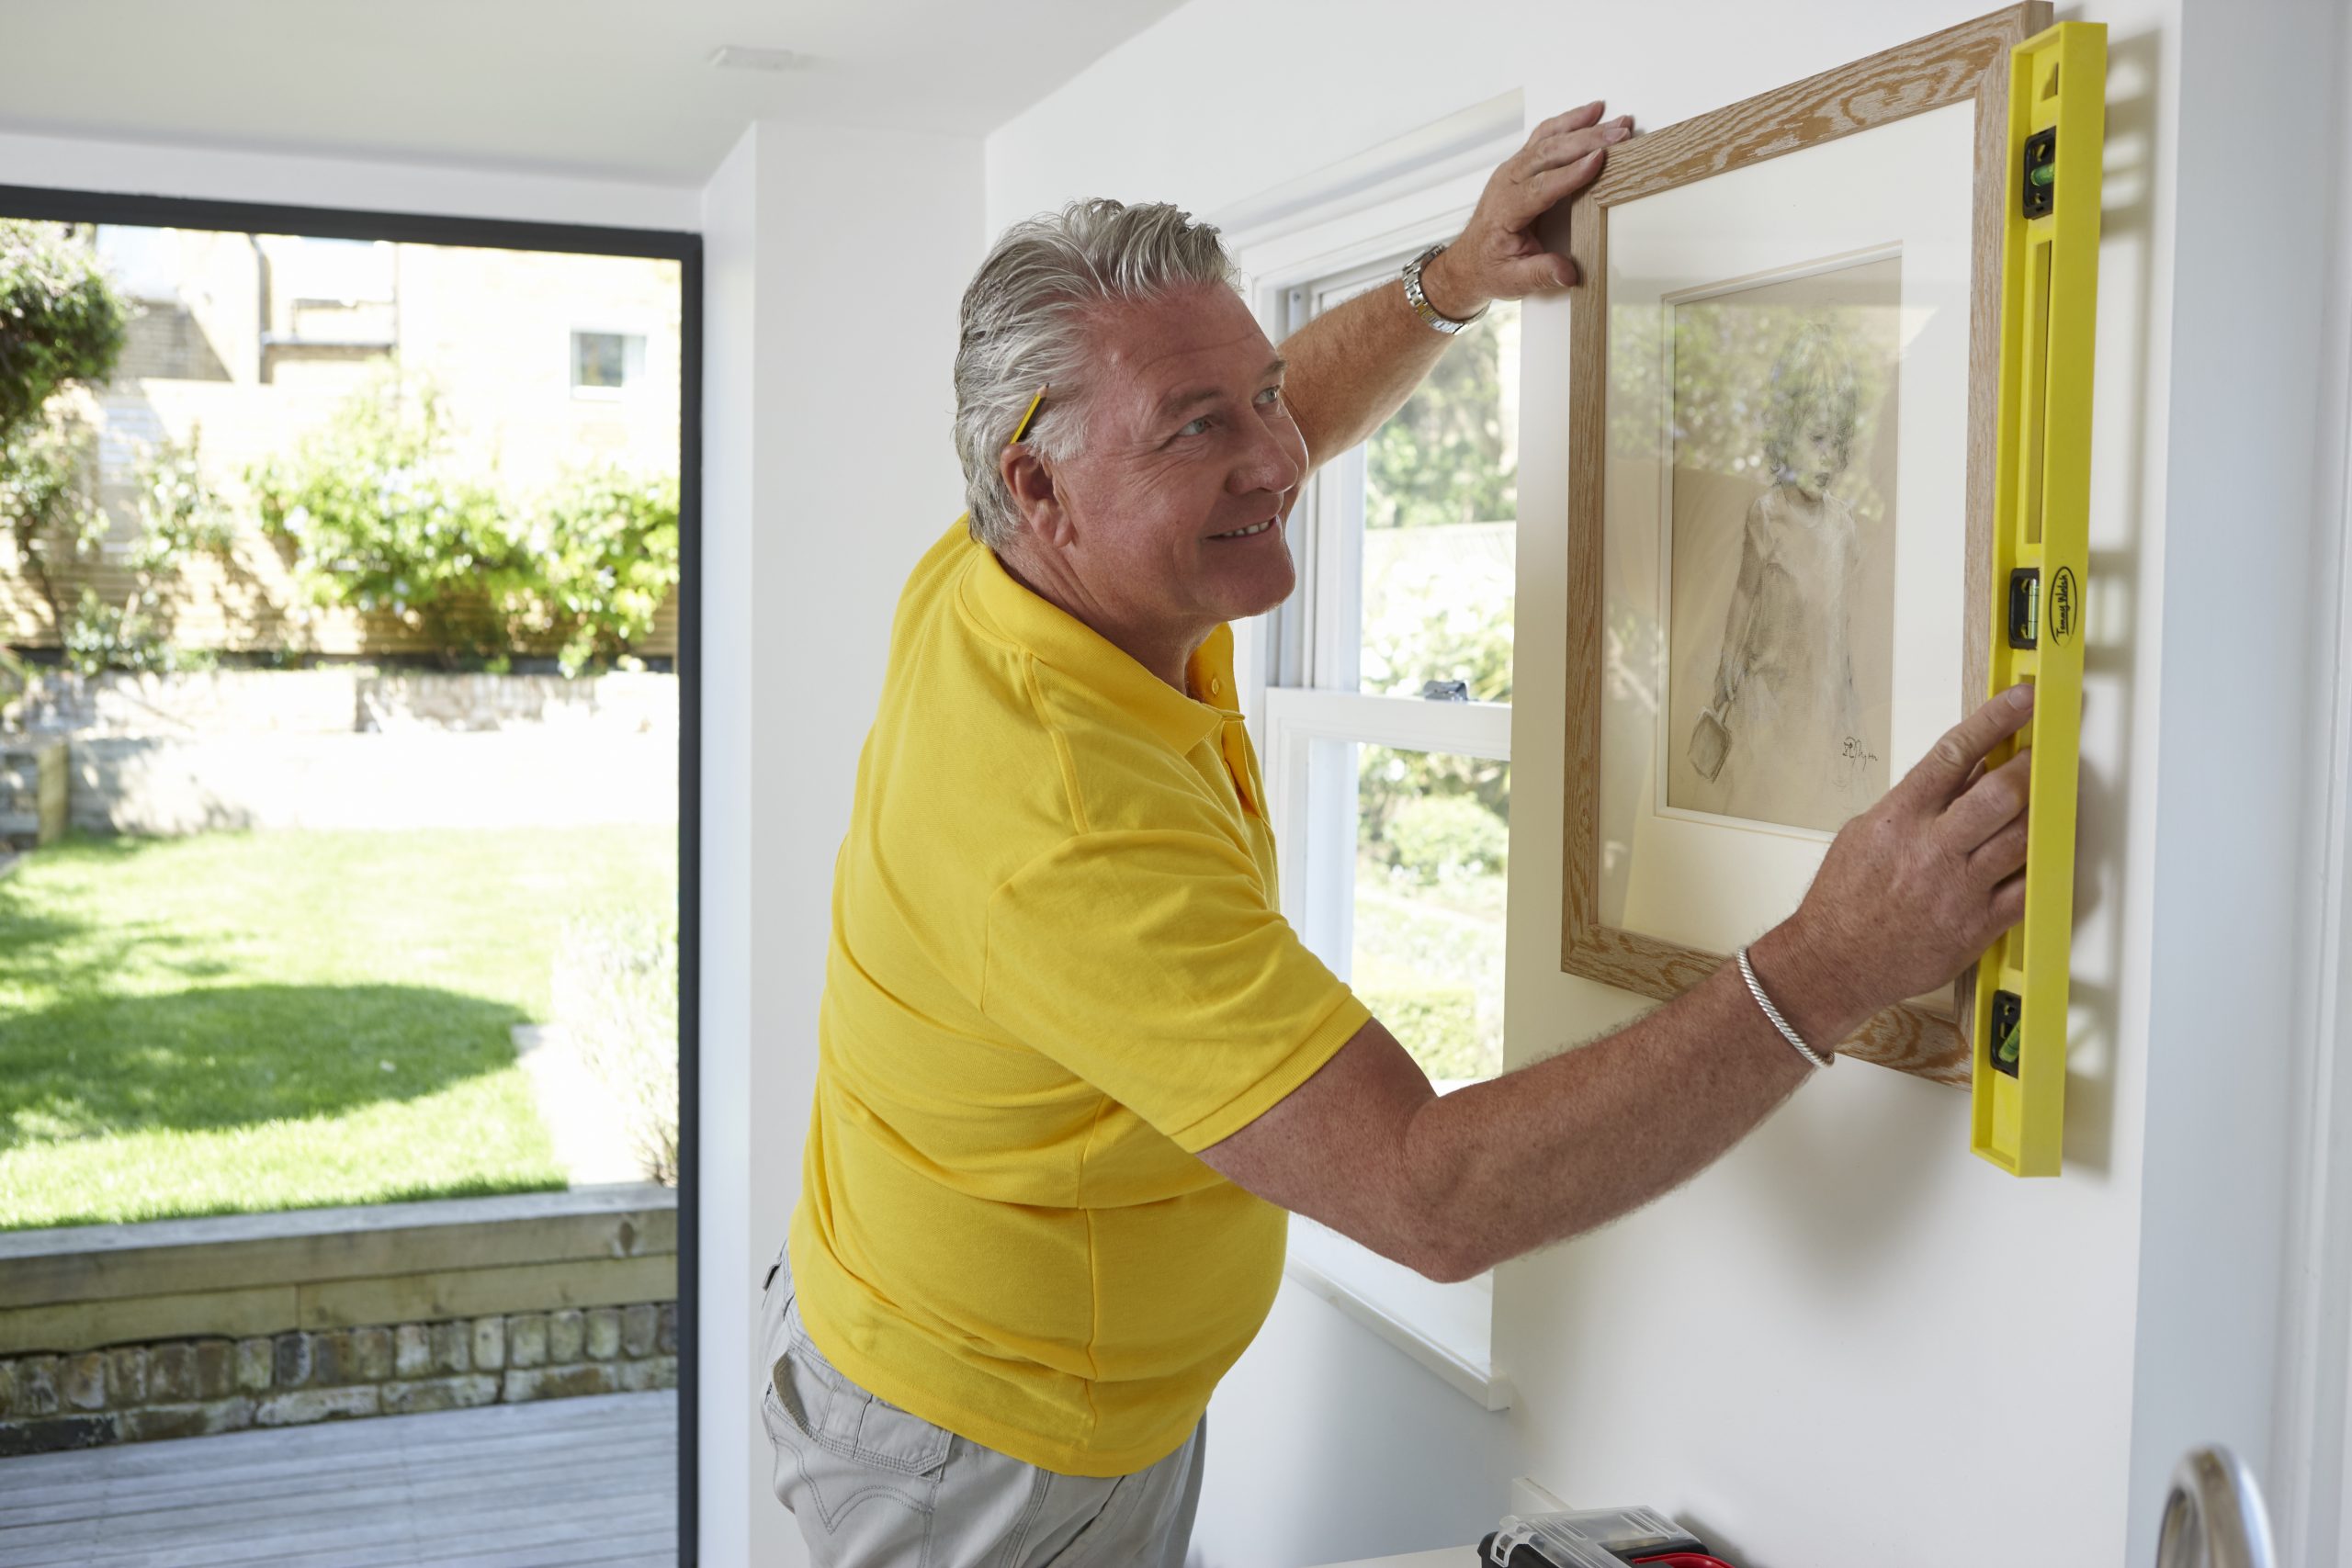
Hanging pictures
 In my opinion the most important factor when hanging pictures, is to centralise the picture, in the space you have decided to hang it! There shouldn’t be any distraction, whether it be art work, print, photo, mirror or a sculpture even, it should be placed central to a plain backdrop. So a tape measure is crucial to picture hanging; one picture needs two equal spaces, two pictures need three equal spaces and so on.
Our predecessors, Georgians, Victorians, and Edwardians, fixed picture rails, at a predetermined height, all around the room, in order to hang pictures. They didn’t have the advantage of masonry pins, electric drills, plugs and screws, so they cleverly incorporated a picture hanging system into the room design. If the picture is not a giant Ruben’s or Van-Gogh, a simple single or triple masonry pin hook bracket, is normally sufficient for the average print or photograph, but anything of medium or heavy weight, must be calculated carefully, and the correct support installed accordingly.
DIY:time with Tommy Walsh is the new range exclusively at Dealz! Click here to browse online and find your DIY essentials. Remember to Like Us on Facebook, follow us on Twitter and sign up to receive our newsletter if you want to keep up to date with Tommy’s Tips and DIY:time!