With a bit of help from Dealz and Tommy Walsh anyone can freshen up a room with a lick of new paint. Our DIY:time range has all the essentials: Dust Sheets, Scrapers, Sandpaper, Filler and Paint Brushes at €1.49 each – that’s Amazing Value!
“As tradesmen, we know that the finish, is only as good, and reflects the preparation done prior! Even the roughest surfaces, can be much improved if the effort and hard work is put in!”
Firstly create an extensive decorating kit (nearly everything you require, is available at Dealz, at an affordable price for everybody!).
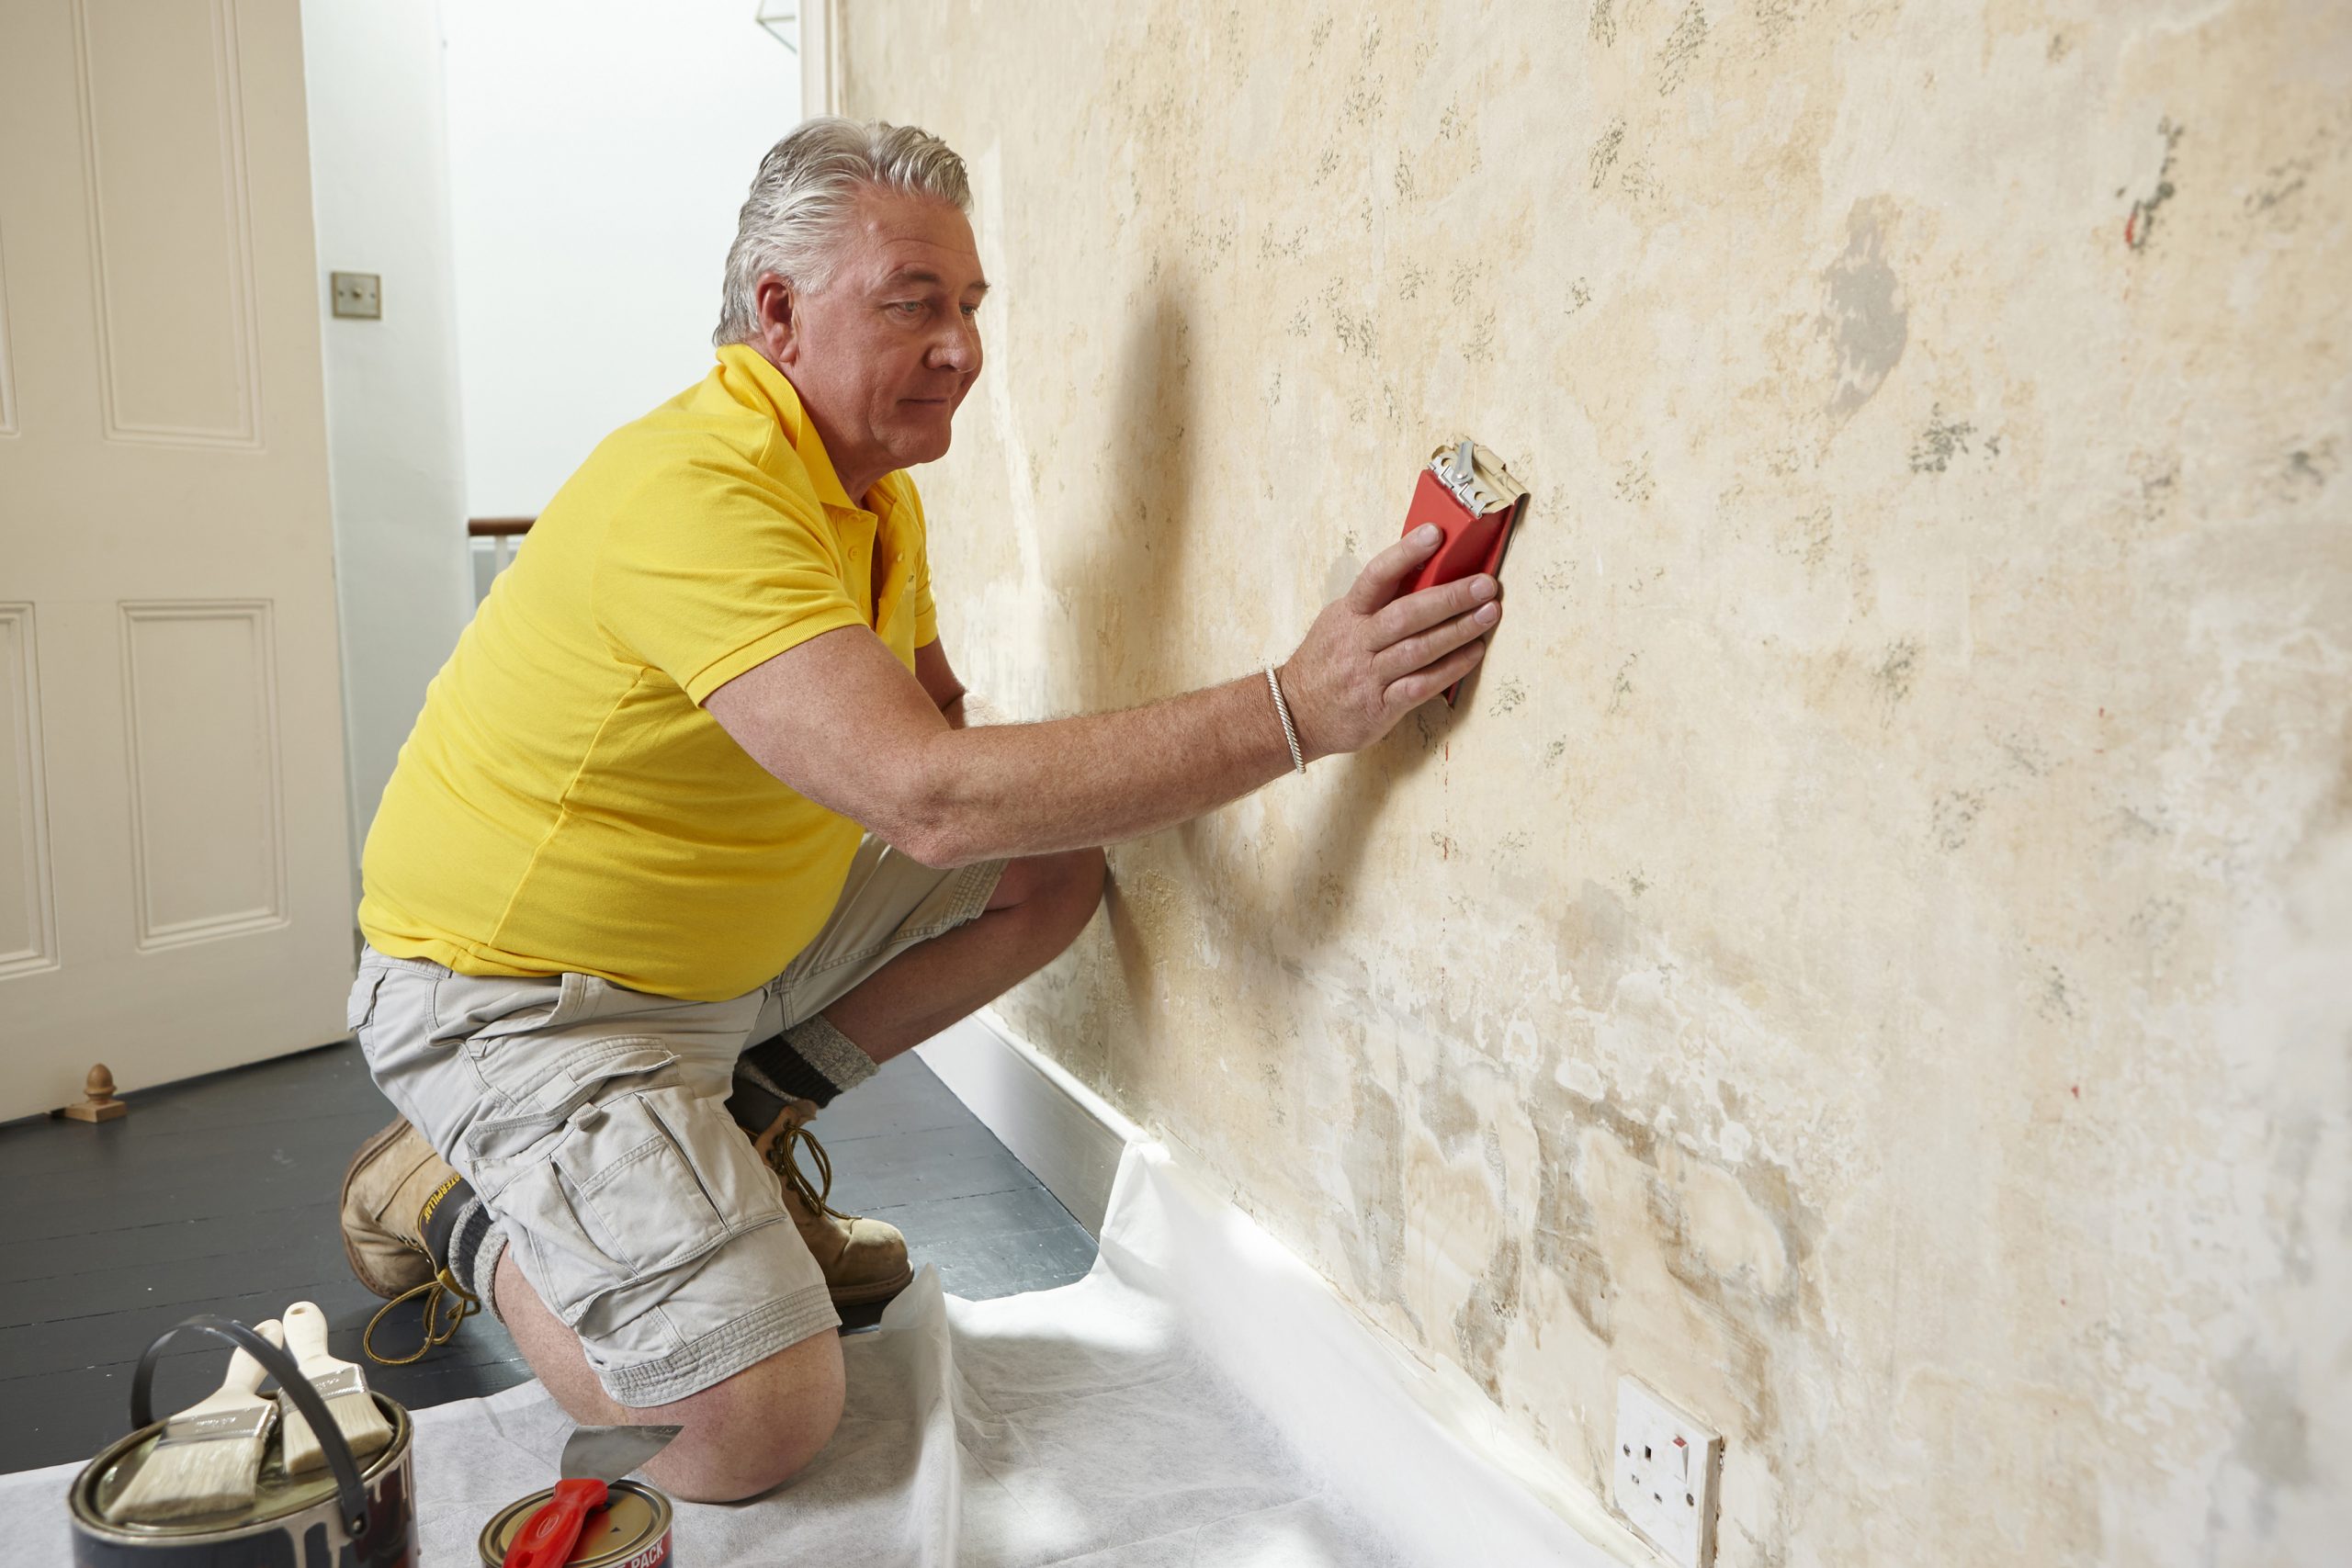
 Take extreme care when stripping wallpaper to avoid damaging the plaster finish underneath with the scraper, ensure the wallpaper is thoroughly soaked, time and time again.
 Use warm water, with a little washing up liquid, applied with a large sponge. For the best results, use an orbital scorer to first perforate the paper’s surface, which allows for thorough soaking.
 If after a dozen or so soakings it’s still proving tough to get the paper off, it may be time for a “steam stripper”.
 If there is loose plaster, very carefully cut back and prepare for repairs. If the damaged plaster is extensive it may require re-plastering by a tradesman, otherwise it could be repaired with filler or one coat plaster, after first applying a sealing coat of PVA Adhesive and water, then carefully rubbing smooth once hardened.
 Use a fine sandpaper, folded in half, to smooth the surface effectively.
 A damaged corner can be easily repaired by temporarily pinning a piece of batten, and filling in the damage. When cured, remove the batten and fill the pin holes, and when dry rub the surface smooth.
 Tommy Tip: Rinse all surfaces with clean water to remove any dust or residue before decorating.
 A great modern decorating aid, is decorators caulk, (a water soluble flexible filler). Great for gaps and joints between walls and skirting’s/architraves/windows etc, simple fit a tube into a mastic gun, squeeze the trigger and apply, removing any surplus with a damp sponge, caulk can be painted over once cured.
 Using a mastic gun, can be a bit tricky at first, I recommend starting at the top, and applying a smooth flowing movement, along the line, remember to stop the caulk at the end of each run, by flicking the trigger, releasing the pressure, and cutting off the supply.
DIY:time with Tommy Walsh is the new range exclusively at Dealz! Click here to browse online and find your DIY essentials. Remember to Like Us on Facebook, follow us on Twitter and sign up to receive our newsletter if you want to keep up to date with Tommy’s Tips and DIY:time!